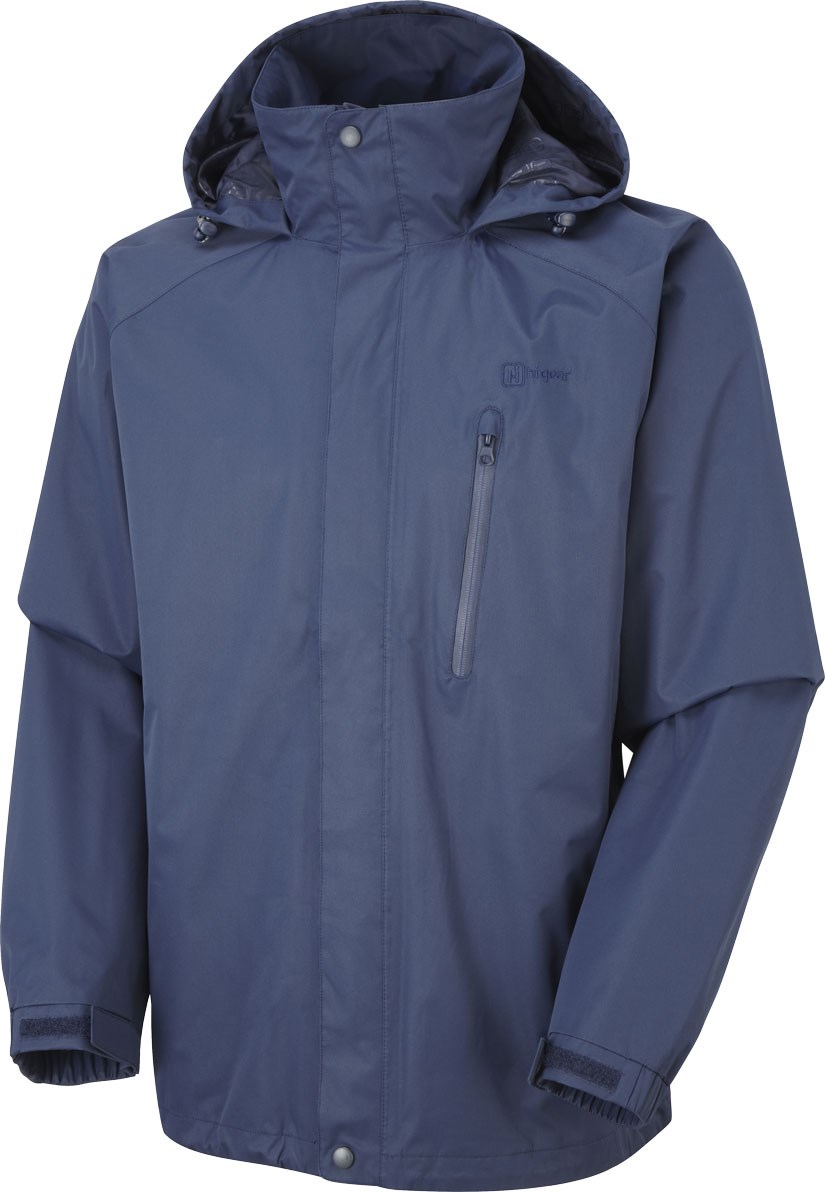
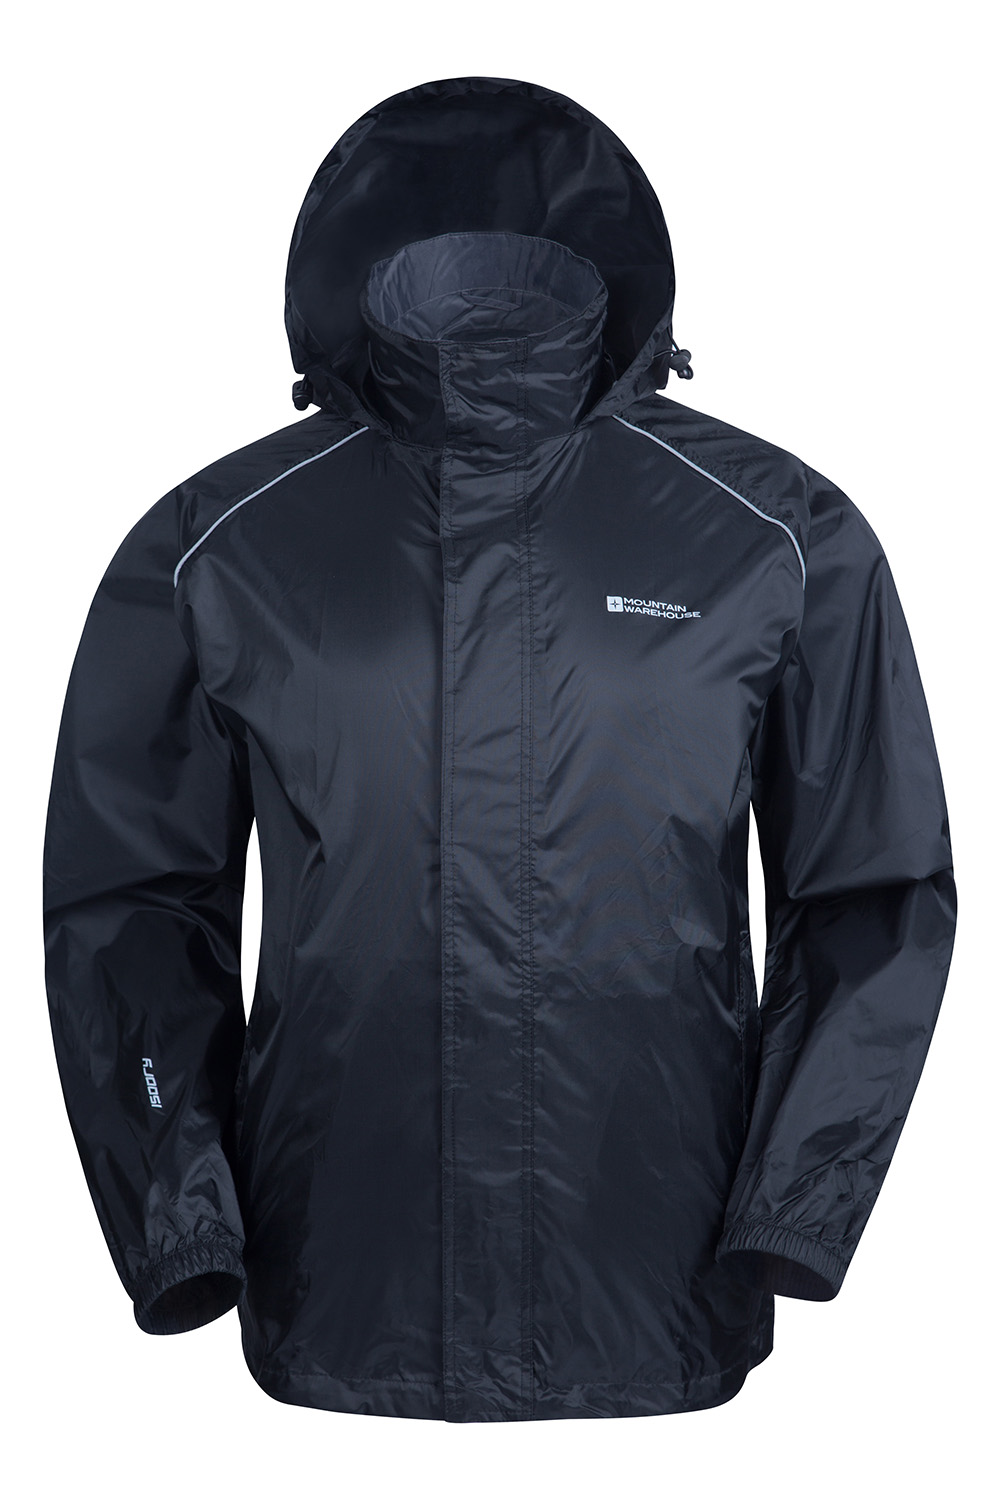
The variety of waterproof jackets grows wider and bigger in the market as winter gets wetter and colder. Everyone wants to stay warm and snug beneath their clothes and go buy groceries without going numb. But what about those individuals who are on a budget? No problem! You can make your very own waterproof jacket. All you need is:
- A jacket
- A clean and dry cloth
- Spacious and ventilated work space
- A Hangar
- Silicone Waterproofing Spray
Instructions
Obtaining a silicone waterproofing spray is easy as you can get your hands on it in many ways. Online stores and sporting goods stores are 2 options you can go for.
Ensure that your jacket is washed, clean and dry. If you can give it a tumble in the wash cycle before setting to work that’d be great. But wiping it down with a clean, dry cloth can do too.
Get to your work space. No kids or animals should be around you when you do this. Open all windows and keep the area airy. Cover your work space with newspaper or an old sheet.
Keep your jacket flat on your workspace and fix the collar so it is not wrinkled and lay out the arms. If your jacket has a belt, remove that. It can be waterproofed separately.
Start spraying the silicone spray on your jacket, on all the creases and corners, while keeping the bottle at least 6 inches away from the material. Avoid over-spraying on certain areas.
Evenly apply the spray on the side of the jacket you are working on. After you have covered that side, hand the jacket on a hangar. Wait for at least 24 hours if not more for the spray to set in and do its job till you can spray the other side.
After you have successfully sprayed either sides of your jacket leave it to set and dry for over 72 hours until it can be worn.
 careyfashion.com Carey Fashion


